How to Sanitize Your RV’s Fresh Water Tank
Jun 01, 2024Okay, so you're in an RV and you want to sanitize your fresh water tank. Let's talk you through how to do that.
My name is Emily, I'm a certified mobile RV repair tech based in Las Vegas, and this is RV Repair Woman. I'm going to walk you through today, step by step, how to sanitize your freshwater tanks. It is not as complicated as everyone tries to make it out to be. You got this!
To sanitize your tanks, you are going to need bleach. It doesn't matter the brand, just normal everyday bleach like your mom used to use to clean up the whole house. You'll also need a measuring device of some sort, a relatively large pitcher, and a funnel with a hose attachment. You can get these at any auto store for like five bucks.
Sanitizing your tanks is an eight-step process, so let's walk through them now.
Step No. 1

Determine the size of your tanks. If you don't know this off the top of your head, you're probably gonna have to dig out your RV's manual. If you threw all of that paperwork out long ago or you bought your RV used and it didn't come with all of the manuals, then you're gonna need to track down your fresh water tank. Good news is, it's usually hiding underneath the bed in the master bedroom. Pull out a measuring tape and just measure the general dimensions of the tank. Length times width times height will give you the volume of the tank. You're then going to measure out one fourth of a cup of bleach for roughly every 15 gallons of volume that your fresh water tank can hold. For example, if you have a 60 gallon fresh water tank, you're gonna divide 60 by 15, which will get you four. So you're gonna measure out four fourths of a cup of bleach, which is just one cup of bleach, and pour that into some sort of empty pitcher. You're then going to want to fill up the rest of the pitcher with water so that when we go to pour it in, we're not pouring in just straight bleach. We wanna mix it in with water to get some sort of solution so that way it's diluted. It's going to mix in with the water better and there's no chance we're gonna like permanently bleach or stain anything.

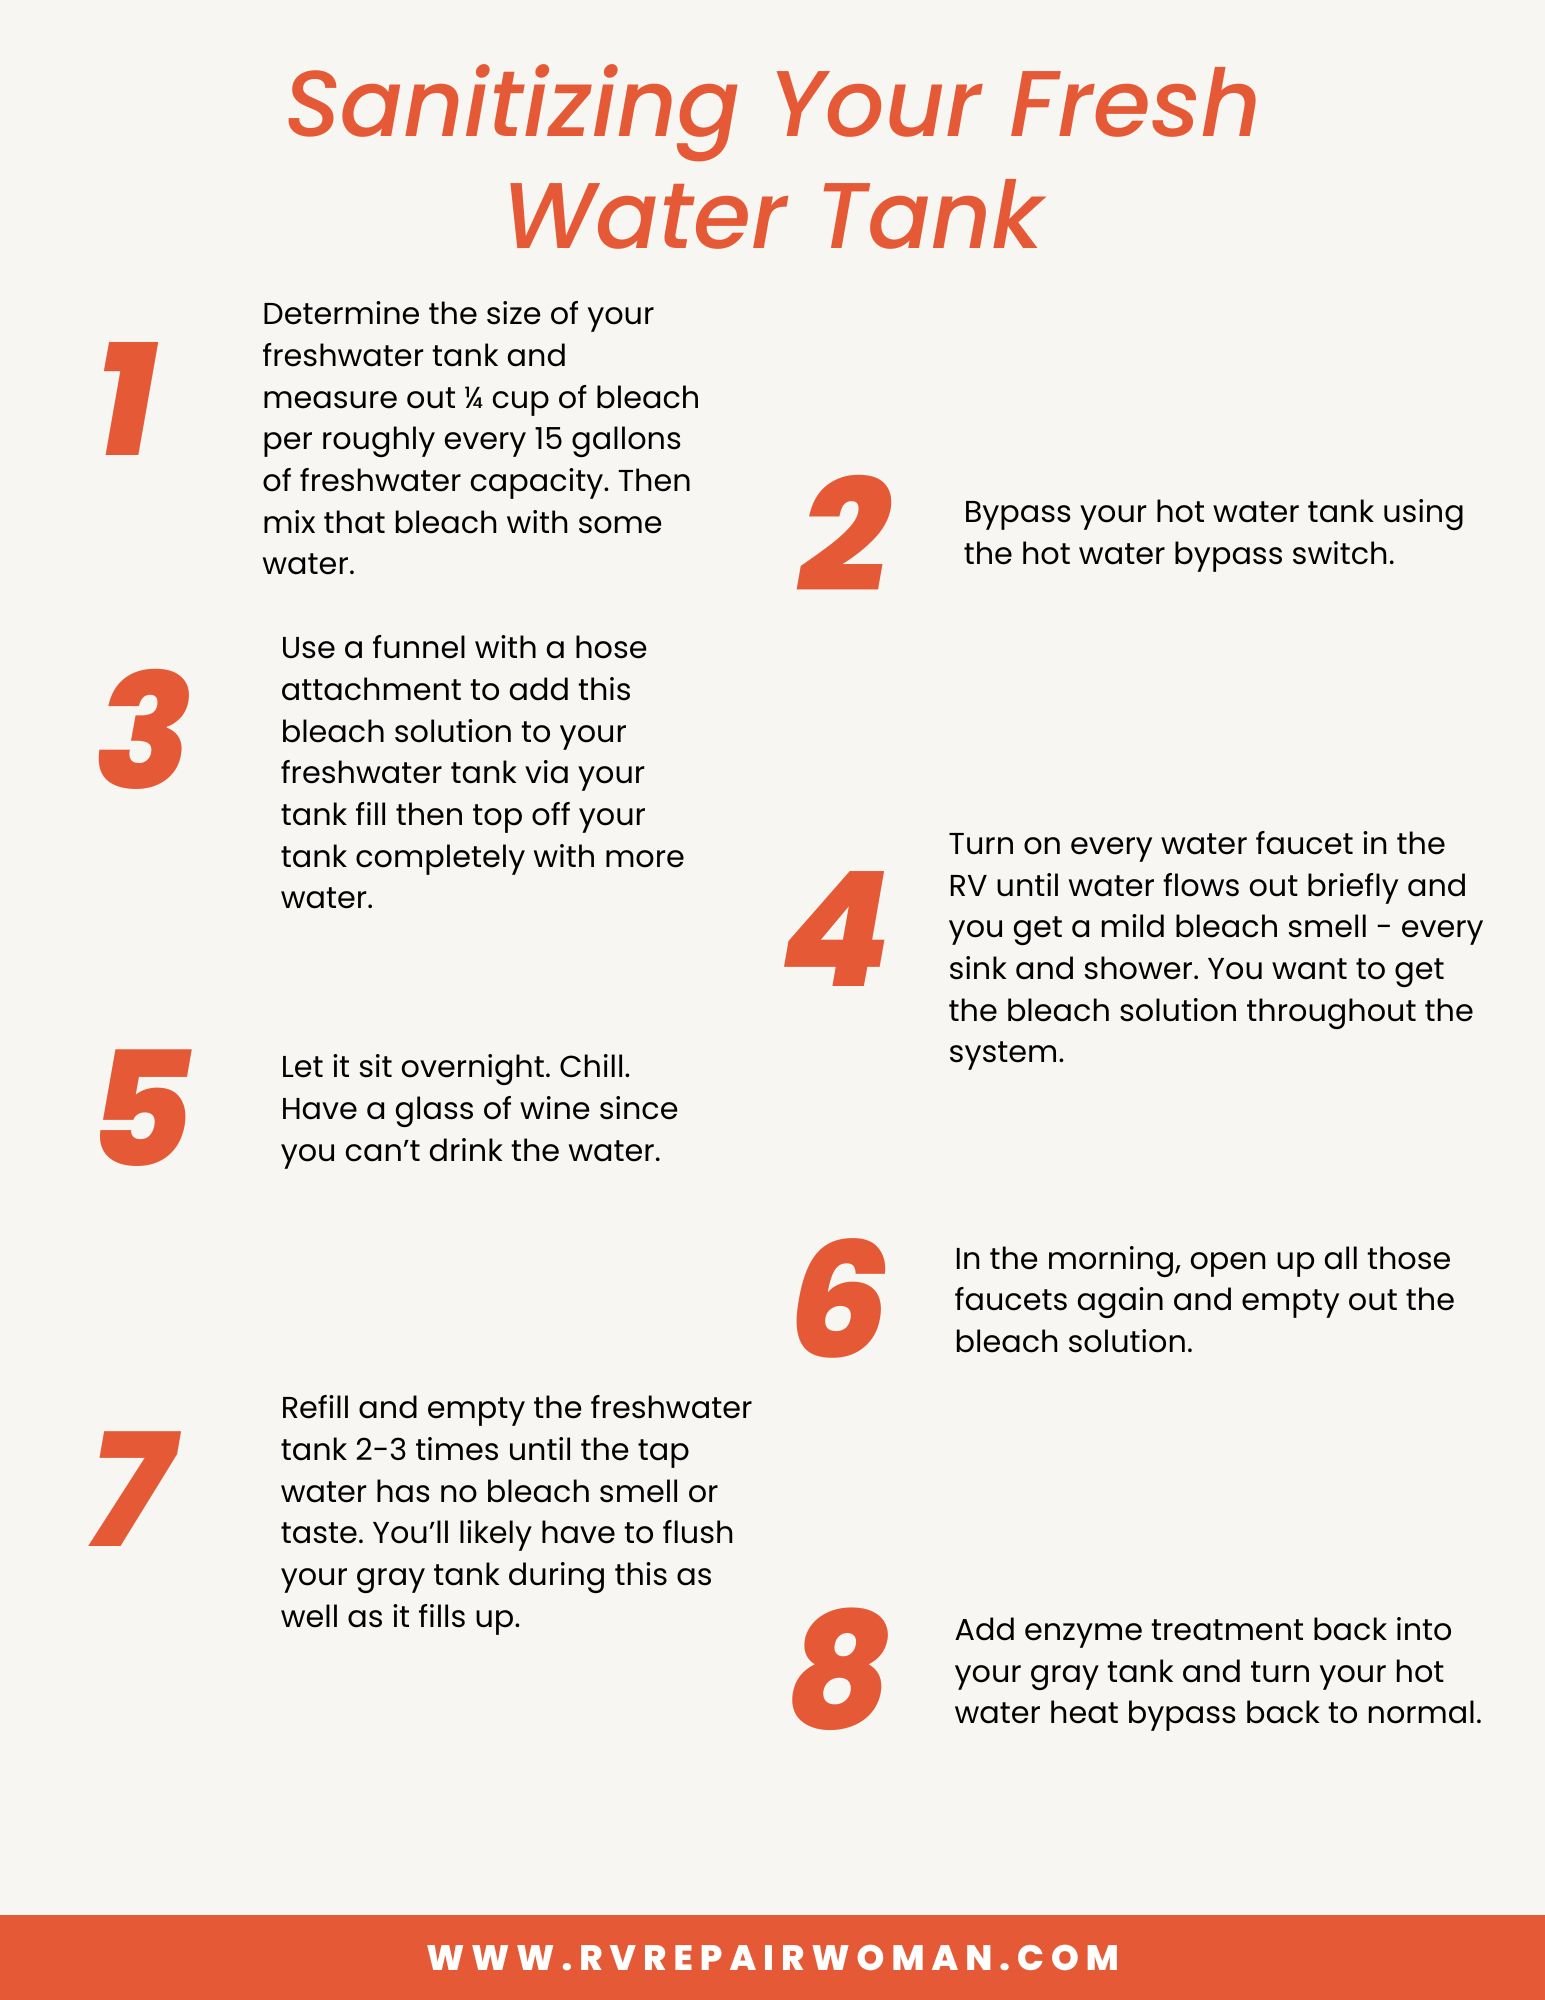
Also know that if you're taking notes right now, I can see you. You're like, "Okay, Emily said one fourth cup of bleach," and you're writing it down. I see you. I love you note takers. Just know that I already have all of this written down for you in a 1-page cheat sheet, and you can find that here.
Step No. 2

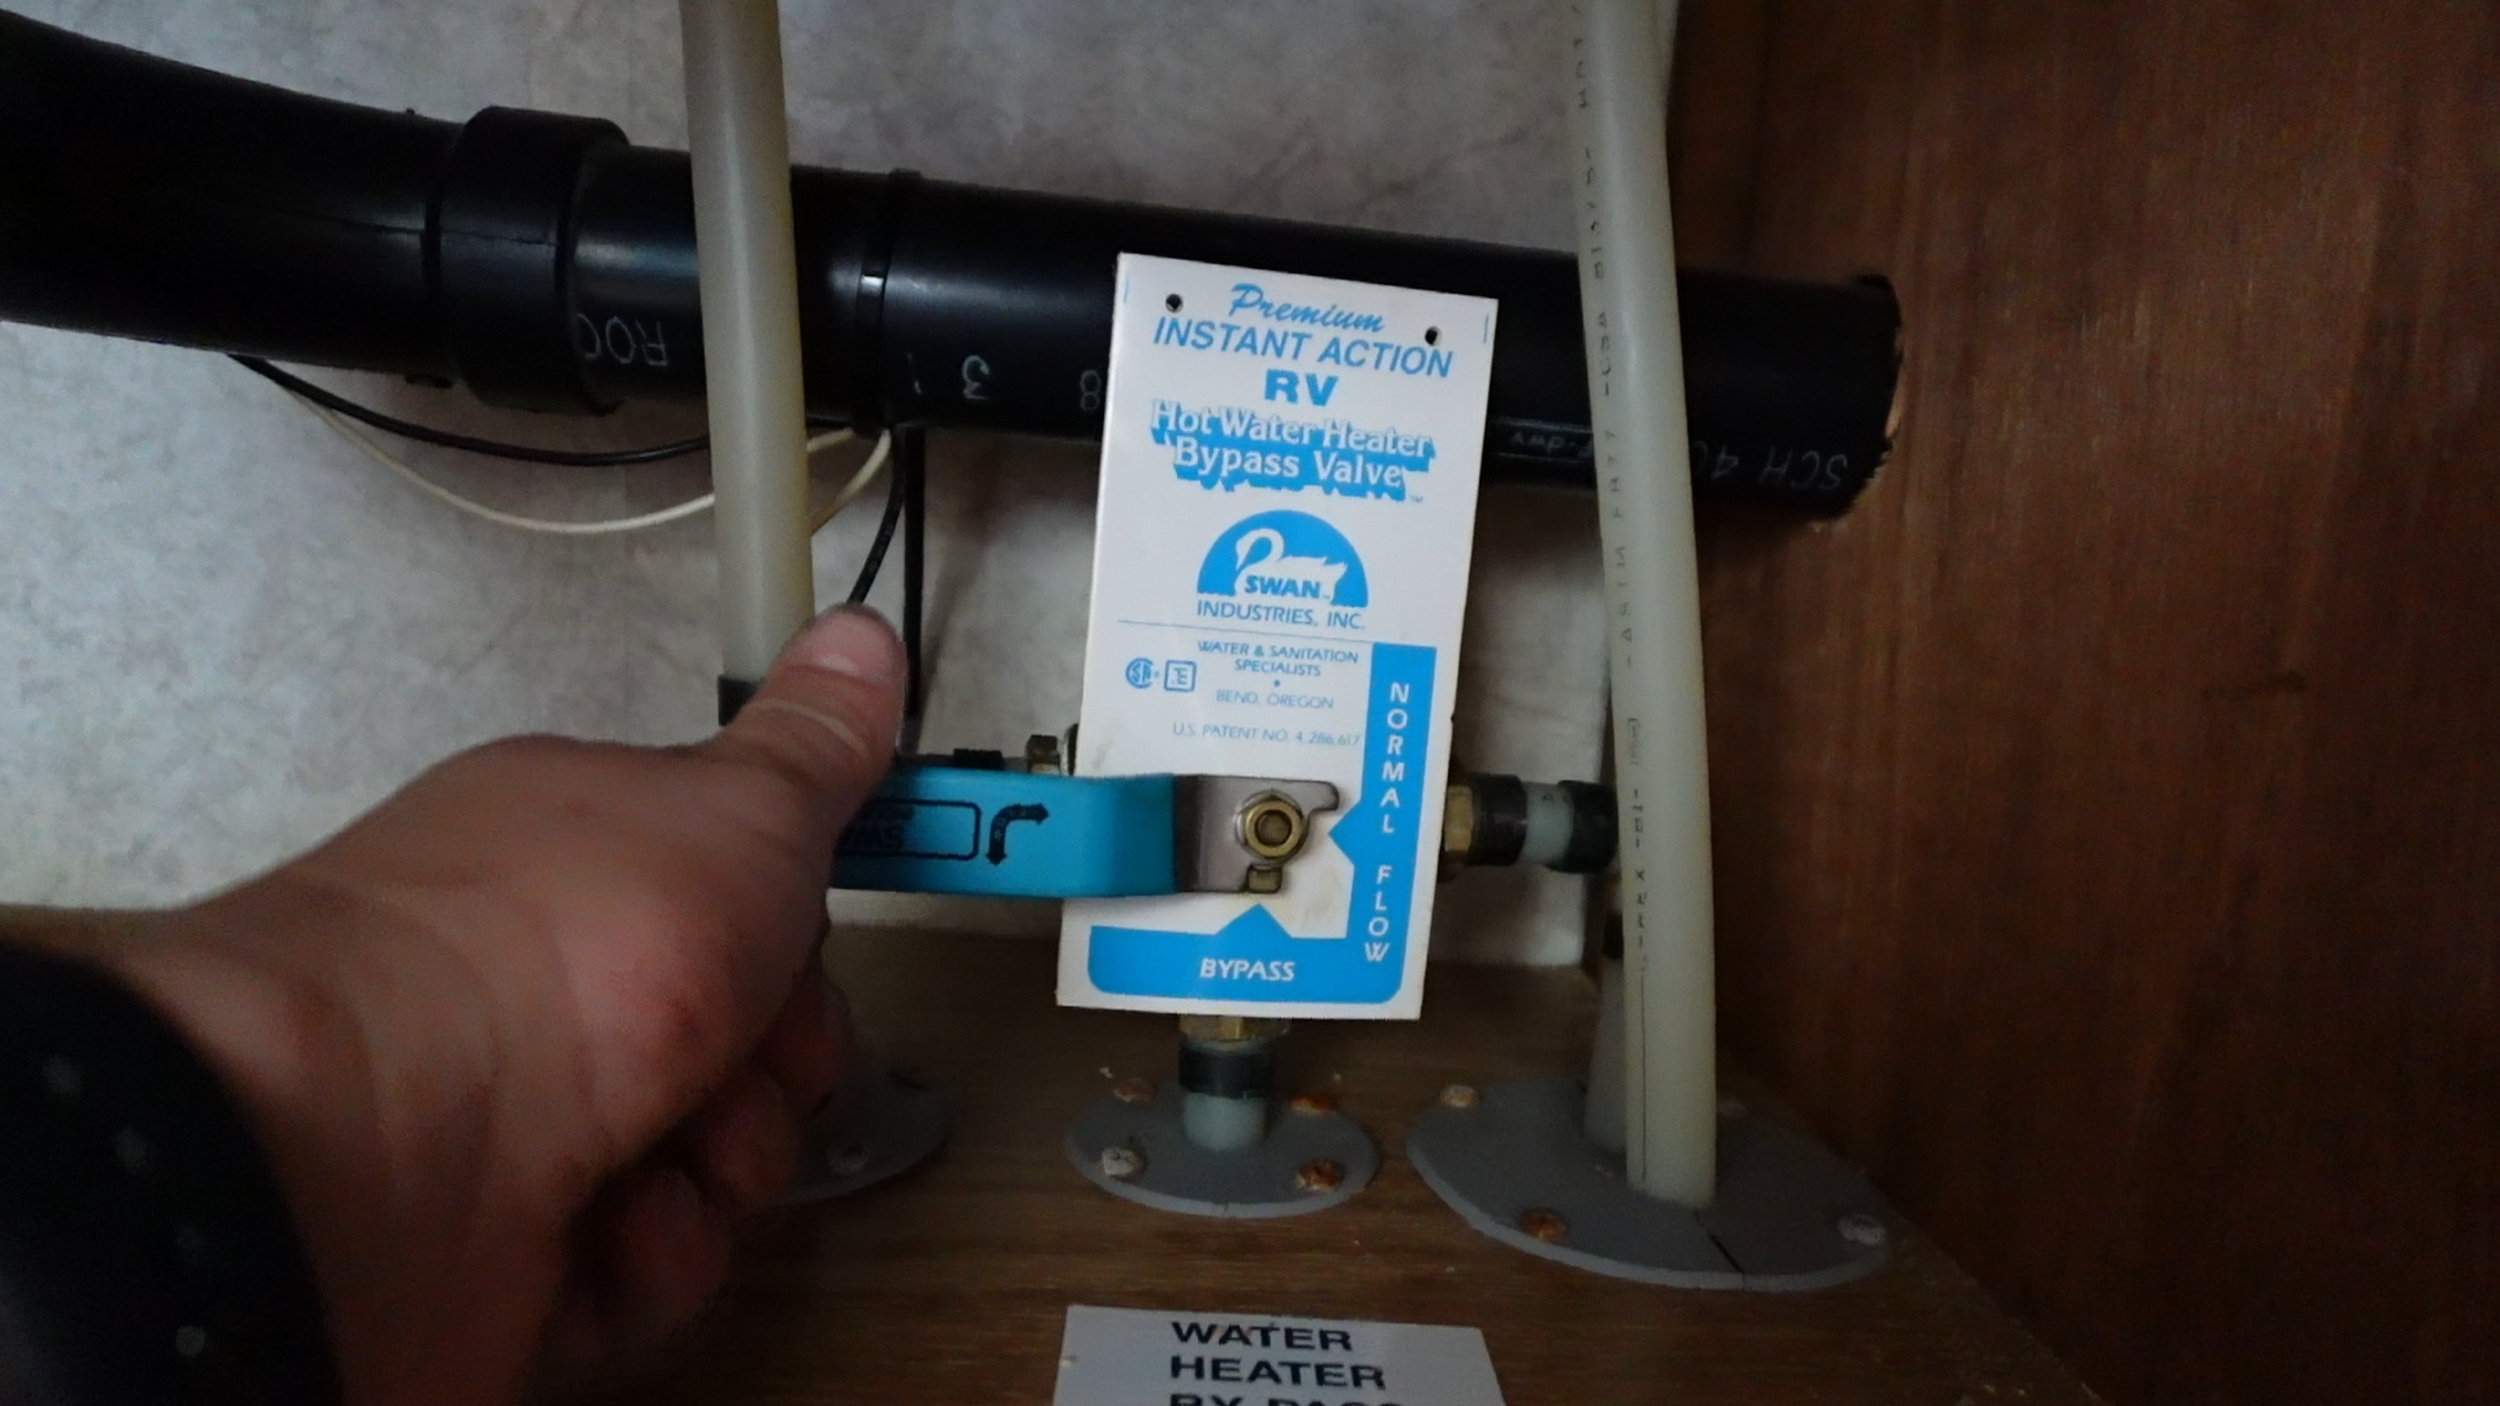
We are going to bypass our hot water tank. This is because the hot water tank has its own tank of itself, and if we were to fill that up with bleach, it's going to make the draining process take a lot longer. There's a whole separate process you can use to clean and sanitize your hot water tank, and I'll be coming out with a video shortly on how to do that. How to bypass your hot water tank is going to be slightly different from RV to RV. In my RV, it's just a handle that hangs out behind the hot water tank underneath the sink in the bathroom. It's clearly labeled "water heater bypass valve access." I just went under there and turned the handle to the bypass setting. Your bypass may be different for your RV.
Step No. 3

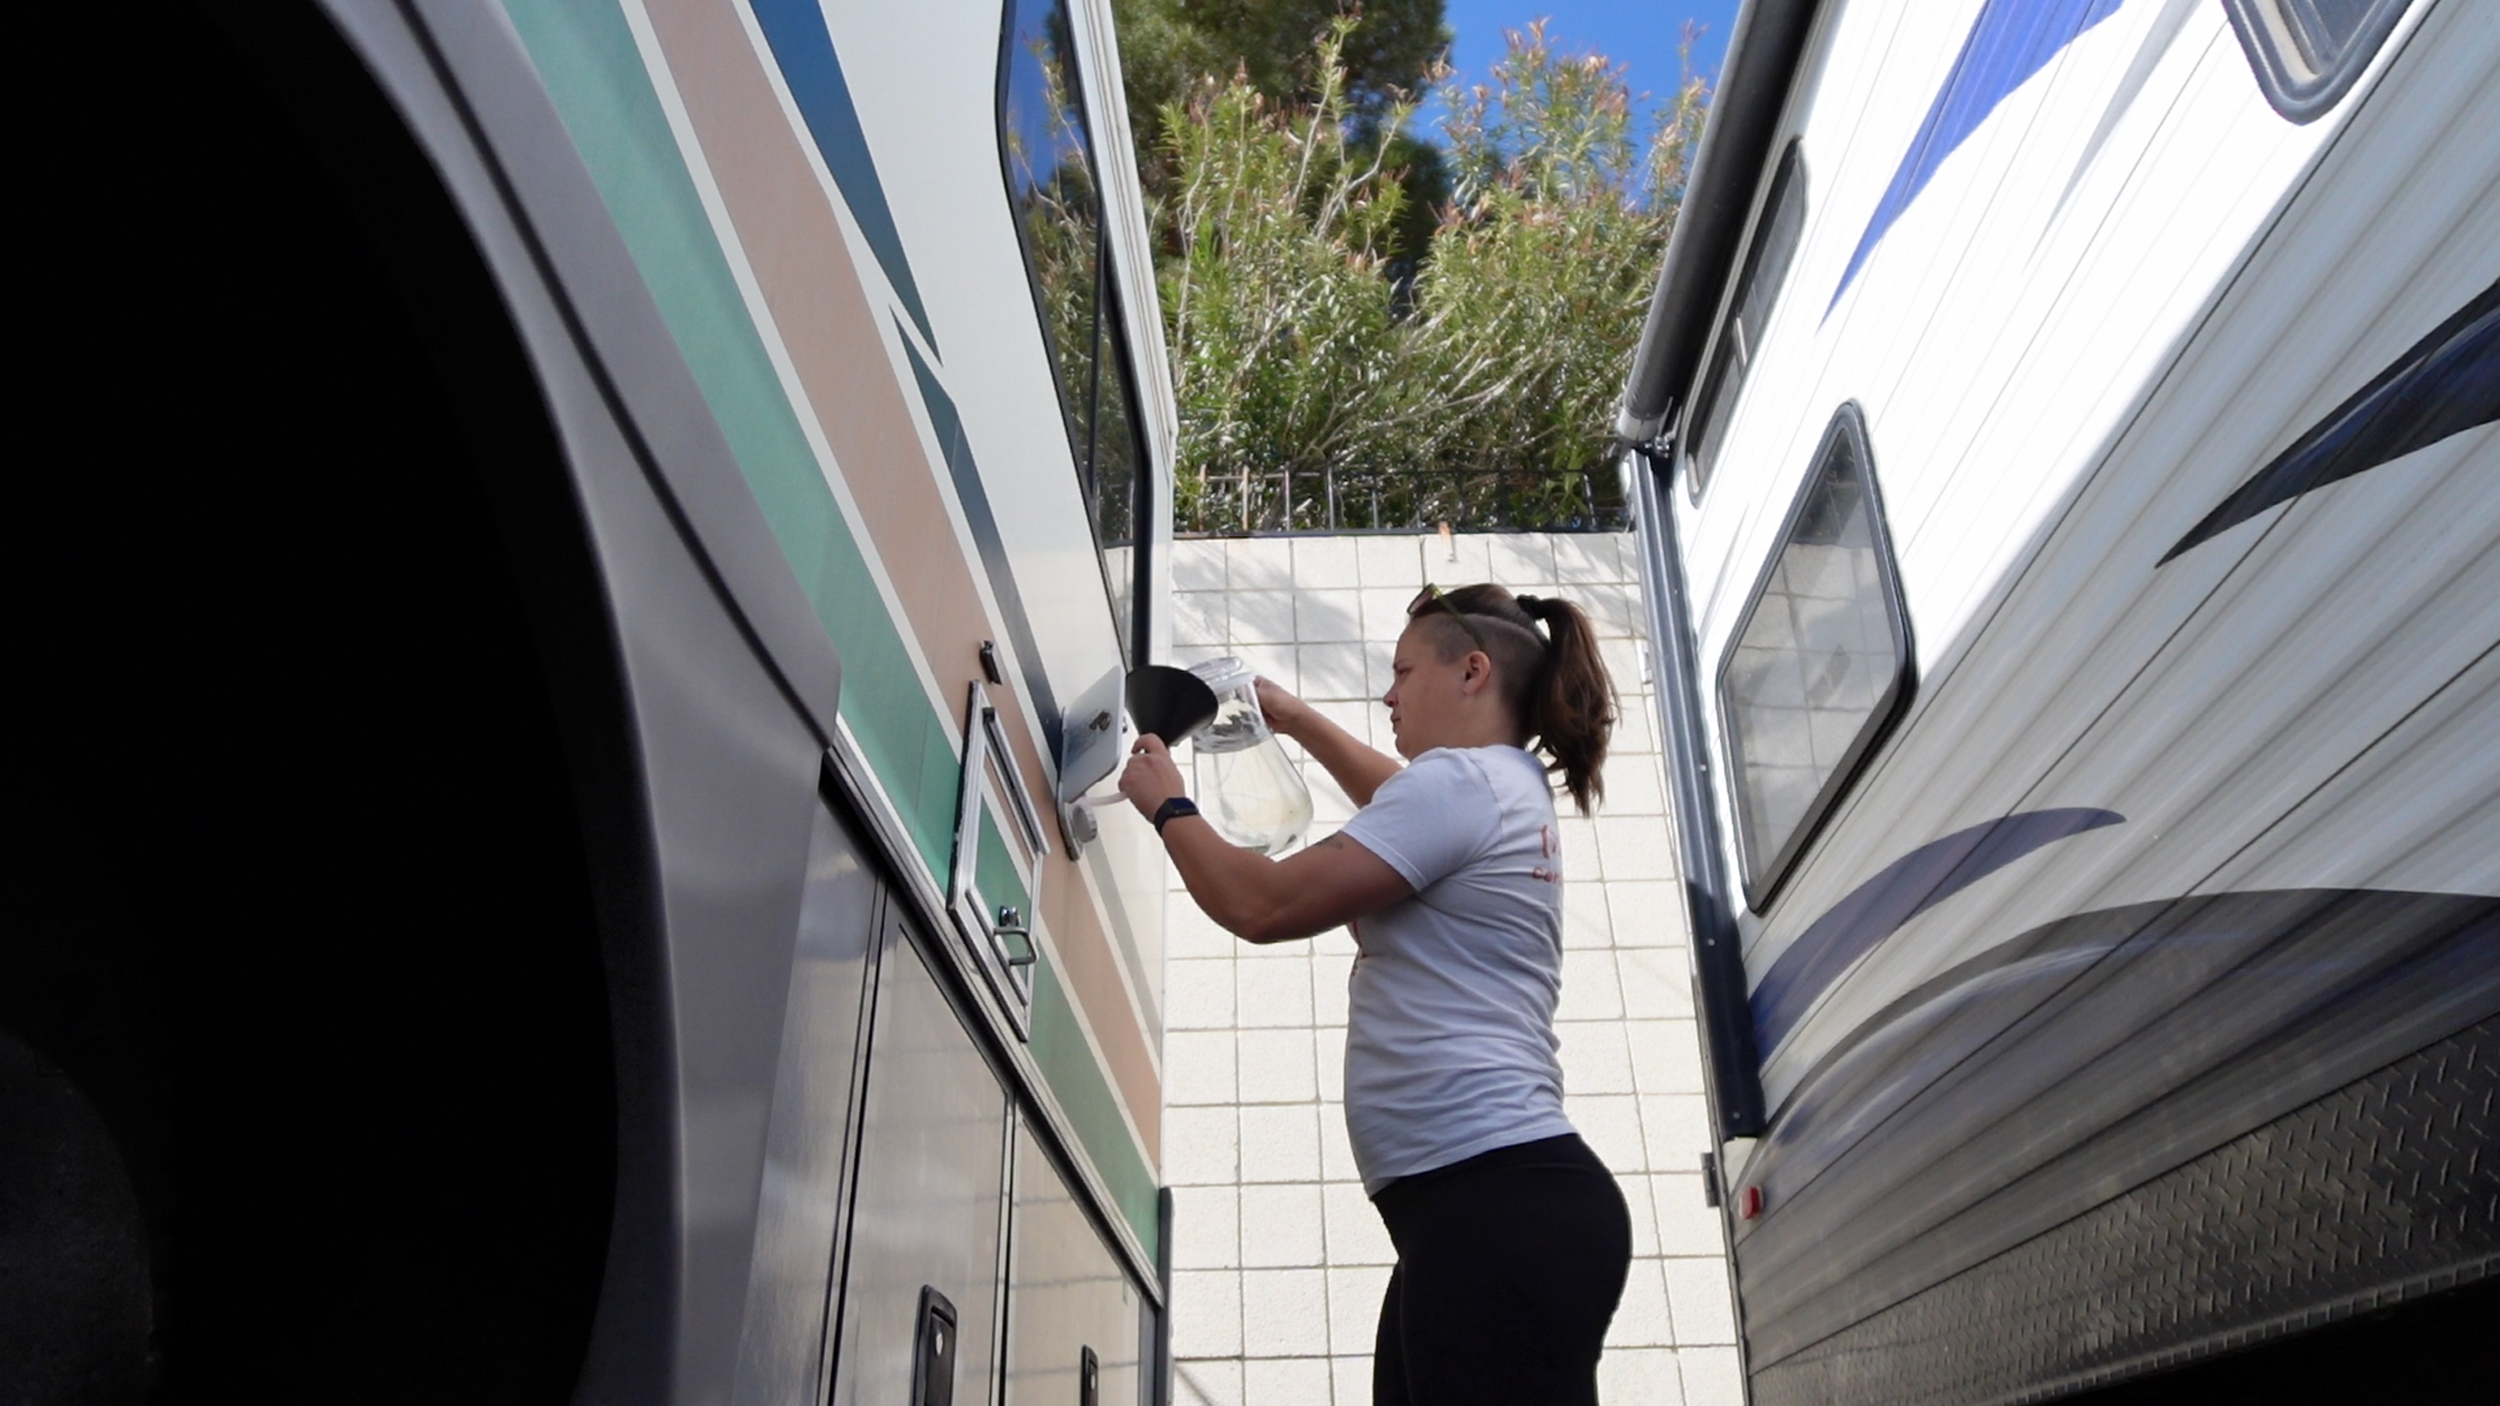
We're going to use our funnel with our hose attachment and we're going to put the funnel into the fresh water tank fill-up valve outside, and then just pour our water and bleach solution directly into the fresh water tank via the funnel. You're then going to want to top off your fresh water tank completely with fresh water.
Step No. 4

We're going to turn on our water pump and then go around to each faucet in the RV one by one and turn them on and let them run until you smell bleach coming through the faucet. This is gonna include the sink in your kitchen, the sink in your bathroom, your shower, and your tub. We wanna make sure that bleach has made it through all of those smaller fresh water lines throughout the RV.
Step No. 5
Just let the RV chill overnight. Have a glass of wine 'cause you're sure as heck not drinking the water in the RV.
Step No. 6
You're going to open up every faucet in the RV and you're just going to let all of the water from the fresh water tank drain into the gray tank via the faucets.
Step No. 7
You are then going to refill and drain your freshwater tank via the faucets another two to three times. This is so we can flush out all of the bleach out of the system. You're gonna keep doing this until you no longer smell bleach at any of the faucets. While you do this, you are most likely going to have to have your RV hooked up to a place where you can drain your gray tank because all of this filling and draining is going to fill up that gray tank fast. This is one of the few times where you can just leave that gray tank valve open and just let that gray tank just drain.
Step No. 8
You can close up your gray tank if you had your valve open for flushing out the gray tank while you did the cleaning, and fill up your fresh water tank with whatever water you need to live in your RV. I am going to recommend that if you use a tank treatment, which I recommend that you do, that you're going to need to restart your tank treatment in your gray tank because all of this bleach is going to have killed all of that good bacteria that you've been building up in your gray tank. Also know that if you use the toilets at all overnight while you were waiting for the bleach to do its job, then that bleach is also going to have worked its way into the black tank, and so you're going to want to dump your black tanks and restart any enzyme treatment that you have in there. I would recommend avoiding using the restroom in your RV overnight while you're doing this process just so that bleach doesn't make its way into the black tank and so you don't have to worry about restarting the enzyme process in your black tank if you have your black tank chemistry figured out. It's not giving it any smells or any problem. Let's not mess with it by adding bleach and killing off any good bacteria.
But that's it! That is how you sanitize your fresh water tank in your RV in 8 easy steps. If you found this video helpful, I highly recommend that you check out my RV basics to badass course that's going to be coming out soon. This is going to be a free, that's right, free course that is going to walk you through all of the basics of RV living, all of those surprises that come up when you first move into or first go on your big trip in an RV and you go, "Holy cow, this is different than living in a house." This course is gonna walk you through all of those little surprises so that way they aren't big surprises for you. You can find the link for this in the description or at RVRepairWoman.com/Badass. In the meantime, please consider hitting subscribe. I come out with tips and tricks that most techs don't want you to know on the regular. This has been RV Repair Woman. You got this!